Dive into the exciting world of Roblox 3D modeling Whether youre a seasoned gamer looking to expand your creative horizons or a newcomer eager to design your own virtual assets mastering Roblox Studio modeling tools can unlock endless possibilities This comprehensive guide will walk you through the essential steps from understanding basic shapes to advanced techniques for creating stunning custom objects environments and characters Discover how to leverage Roblox Studios intuitive interface to bring your imaginative concepts to life and enhance your game development skills Learn about the importance of efficient modeling practices how to utilize unions meshes and textures effectively and even explore options for importing external assets Our aim is to provide practical actionable insights that empower you to craft high quality models that stand out in the vast Roblox universe Perfect for gamers who enjoy skill building and creative expression this resource addresses common challenges and offers solutions for optimizing your modeling workflow
What software do I need to model in Roblox?
To begin modeling in Roblox, the primary tool you'll need is Roblox Studio, which is completely free to download and use from the official Roblox website. It's an all-in-one platform for creation, scripting, and publishing. For more advanced 3D modeling, many creators also utilize external software like Blender (also free and open-source) to craft intricate meshes that can then be imported into Roblox Studio for use in their games.
Is modeling in Roblox Studio difficult for beginners?
Roblox Studio is designed with user-friendliness in mind, making it quite accessible for beginners to start 3D modeling. You can begin by manipulating simple parts and gradually advance to more complex techniques like Unions and custom materials. The platform offers a wealth of tutorials, and the large community provides support, making the learning curve manageable and rewarding for those new to 3D creation.
How can I make my Roblox models look more realistic?
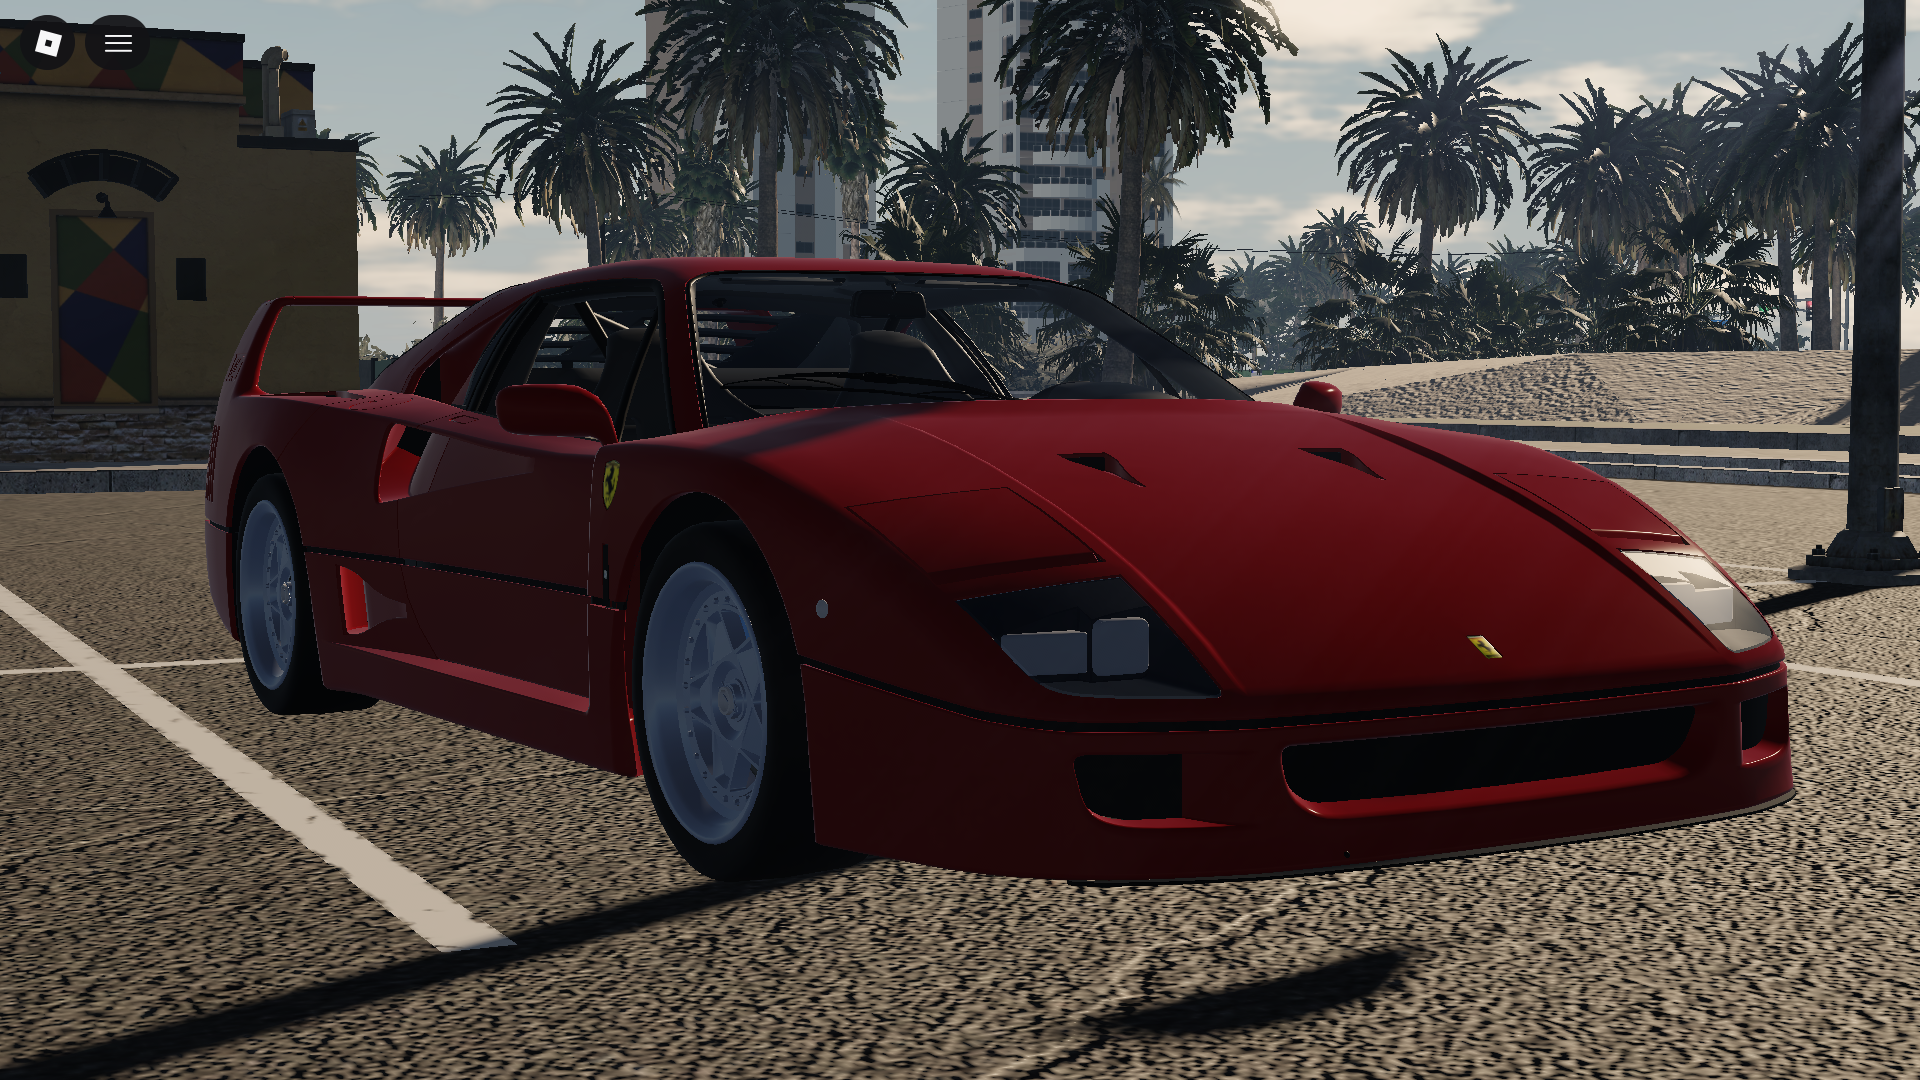
To enhance the realism of your Roblox models, focus on several key areas. Utilize custom textures and physically-based rendering (PBR) materials, which can be applied via the 'MaterialService' for advanced visual effects. Pay attention to accurate proportions and subtle details. Integrating imported high-quality meshes from external software like Blender, coupled with careful lighting and shadow manipulation in Studio, will significantly elevate visual fidelity.
What is the difference between Parts and Meshes in Roblox modeling?
In Roblox modeling, 'Parts' refer to the fundamental geometric primitives (like cubes, spheres, cylinders) that you create and manipulate directly within Roblox Studio. They are basic building blocks. 'Meshes', often referred to as MeshParts when imported, are 3D models created in external software (e.g., Blender) that are then brought into Studio. Meshes allow for more complex, organic, and highly optimized geometry that wouldn't be feasible with standard Roblox parts, offering greater detail and performance for intricate designs.
Can I use Blender to create models for Roblox?
Yes, absolutely! Blender is a hugely popular choice among Roblox developers for creating advanced 3D models. You can design complex characters, props, environments, and then export them in formats like FBX or OBJ. These files are then easily imported into Roblox Studio as MeshParts, allowing you to leverage Blender's powerful modeling, sculpting, and texturing capabilities to enrich your Roblox games with unique, high-quality assets.
How do I sell the models I create in Roblox?
You can sell your Roblox models through the Roblox Creator Marketplace. After creating and thoroughly testing your models (often as Meshes or tool models), you can upload them to the marketplace for other developers to purchase using Robux. Alternatively, you can offer custom modeling commissions directly to game developers on platforms like Discord or developer forums, negotiating prices based on complexity and usage rights. Creating popular items in your own game can also generate Robux through in-game purchases.
What are some good resources for learning advanced Roblox modeling?
For advanced Roblox modeling, the official Roblox Developer Hub is an invaluable resource, offering comprehensive guides and tutorials. YouTube channels like AlvinBlox, TheDevKing, and others dedicated to Roblox development provide visual step-by-step instructions. Joining Roblox developer communities on Discord allows for direct interaction, feedback, and learning from experienced creators. Additionally, courses on external 3D software like Blender are crucial for mastering mesh creation for Roblox.
Are you a dedicated gamer who, after a long day of work or managing family life, still finds time to jump into your favorite virtual worlds? If so, you've probably thought about creating something uniquely yours within those games. For many, Roblox is that creative canvas, offering a universe where imagination meets digital construction. But perhaps you've felt intimidated by the idea of 3D modeling, thinking it's too complex or time-consuming, especially with your limited gaming windows. You're not alone. Many adult gamers, around age 36, who make up about 60% of the gaming population, crave skill-building and creative outlets but struggle with where to start or how to make the most of their precious gaming hours.
This article is your friendly, no-nonsense guide on how to model in Roblox. We understand you value relaxation, fun, and performance optimization, and you want to learn without the hype. We'll cut through the jargon and provide practical, actionable steps to help you create stunning 3D models right within Roblox Studio. Forget endless tutorials that don't quite click; we're here to solve your common pain points, from basic setup to optimizing your creations. Let's transform your creative ideas into tangible Roblox assets, making your gaming experience even more rewarding and perhaps even a source of connection with other players.
Why should a busy gamer learn 3D modeling in Roblox Studio?
For the busy gamer balancing work, family, and life, learning 3D modeling in Roblox Studio offers a unique blend of creative outlet, skill development, and social interaction. It's not just about playing games; it's about building them, personalizing your experience, and even contributing to a vibrant community. With recent US gaming trends showing 87% of gamers engaging regularly, often for 10+ hours a week, and mobile gaming dominating, platforms like Roblox provide an accessible entry point to game creation.
Learning to model allows you to customize your gaming world, create unique items for your friends, or even develop assets that can be used in your own Roblox experiences. It’s a rewarding way to unwind and engage your brain in a different, constructive way. Plus, in a world where social gaming is paramount, sharing your creations fosters community and offers a sense of accomplishment beyond simply winning a match.
What exactly is Roblox Studio and how do I get started with modeling?
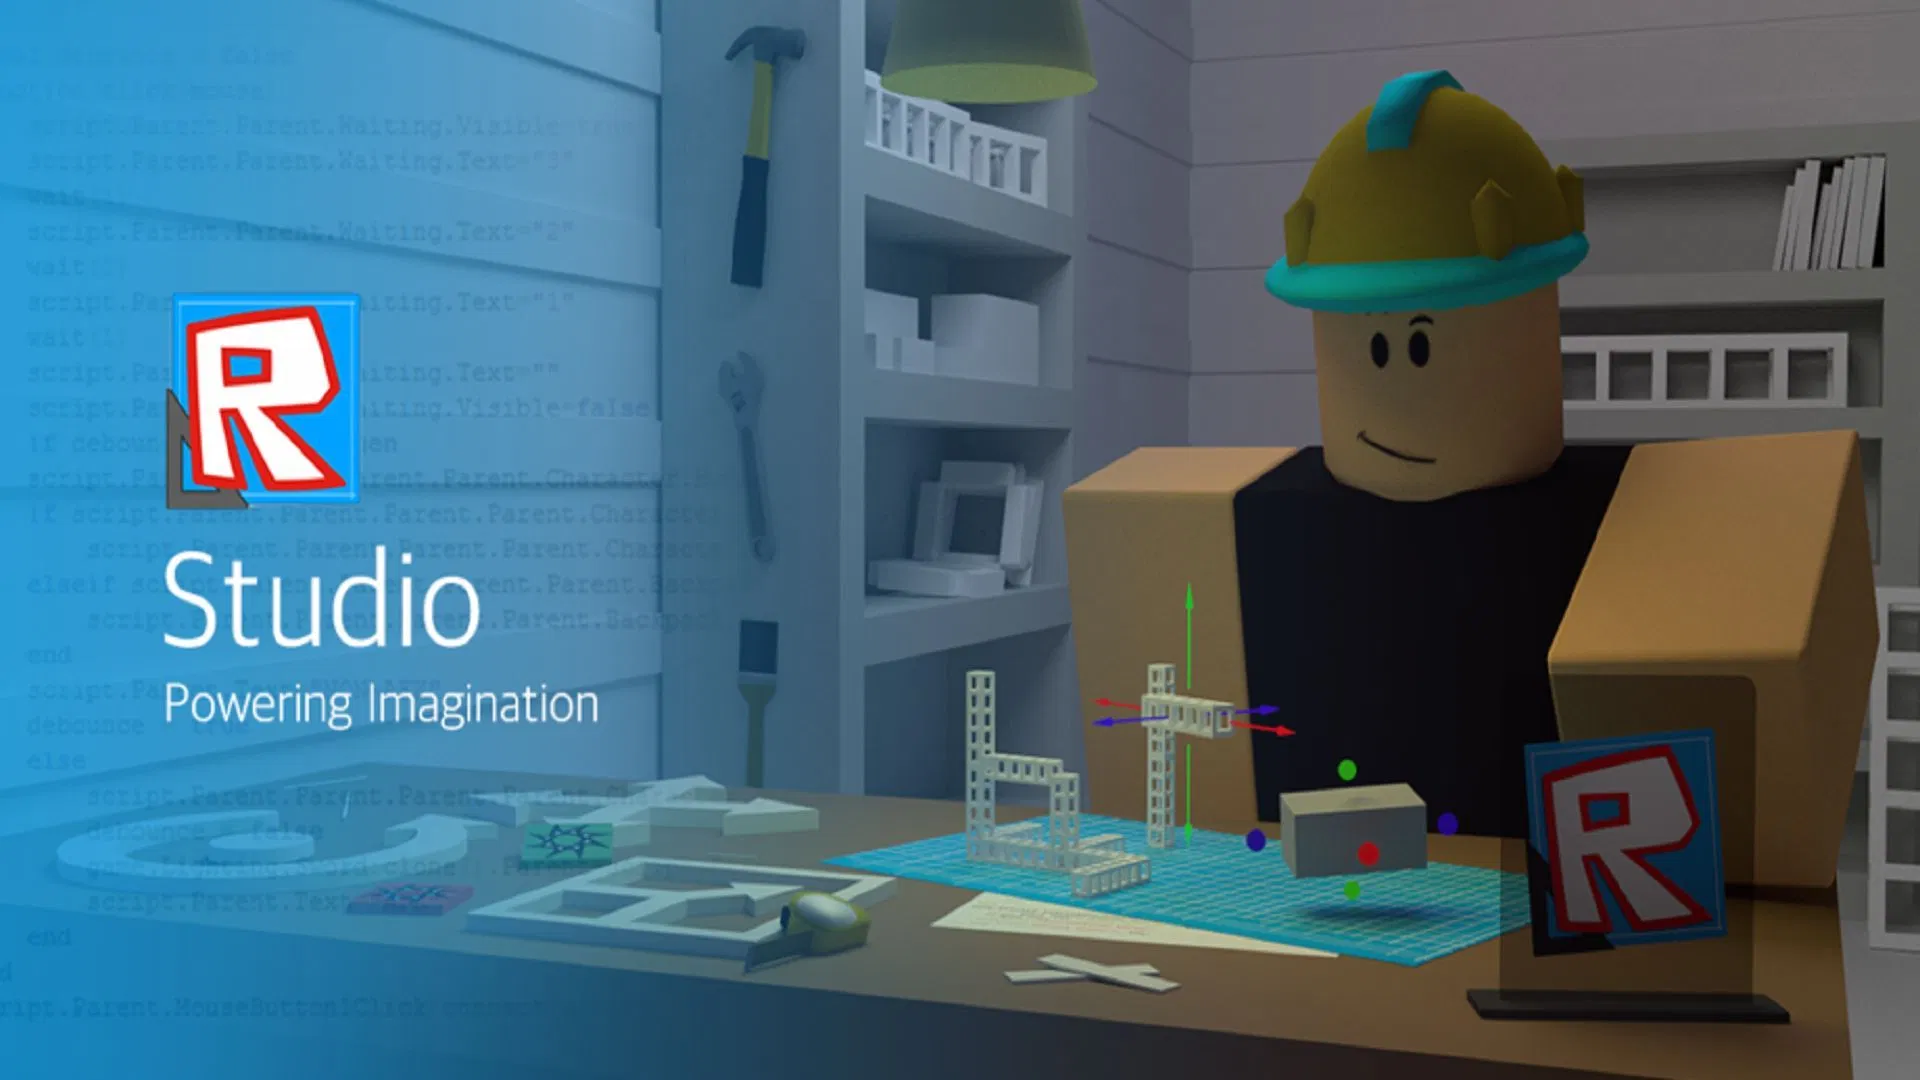
Roblox Studio is the free, integrated development environment (IDE) where creators build, script, and design games for the Roblox platform. Think of it as your virtual workshop. It comes packed with tools to manipulate objects, write code (using Lua), and, crucially, to create 3D models. Getting started with modeling in Roblox Studio is surprisingly straightforward, designed to be user-friendly even for those new to 3D design.
To begin, simply download and install Roblox Studio from the official Roblox website. Once launched, you'll be greeted with a blank baseplate or template. Your main tools for modeling will be found in the Home tab and the Model tab. Familiarize yourself with the 'Part' tool for adding basic shapes, the 'Move', 'Scale', and 'Rotate' tools for manipulation, and the 'Explorer' and 'Properties' windows for managing your objects and their attributes. Start by experimenting with these fundamental tools to build confidence before diving into more complex designs.
How do I create basic shapes and combine them in Roblox?
Creating basic shapes in Roblox Studio is the foundation of all modeling. You start by inserting 'Parts' into your workspace. These are your building blocks: cubes, spheres, cylinders, wedges, and corner wedges. You can access these from the 'Home' tab by clicking on 'Part'. Once a part is in your workspace, you can select it and use the 'Move', 'Scale', and 'Rotate' tools (also in the 'Home' tab) to adjust its position, size, and orientation.
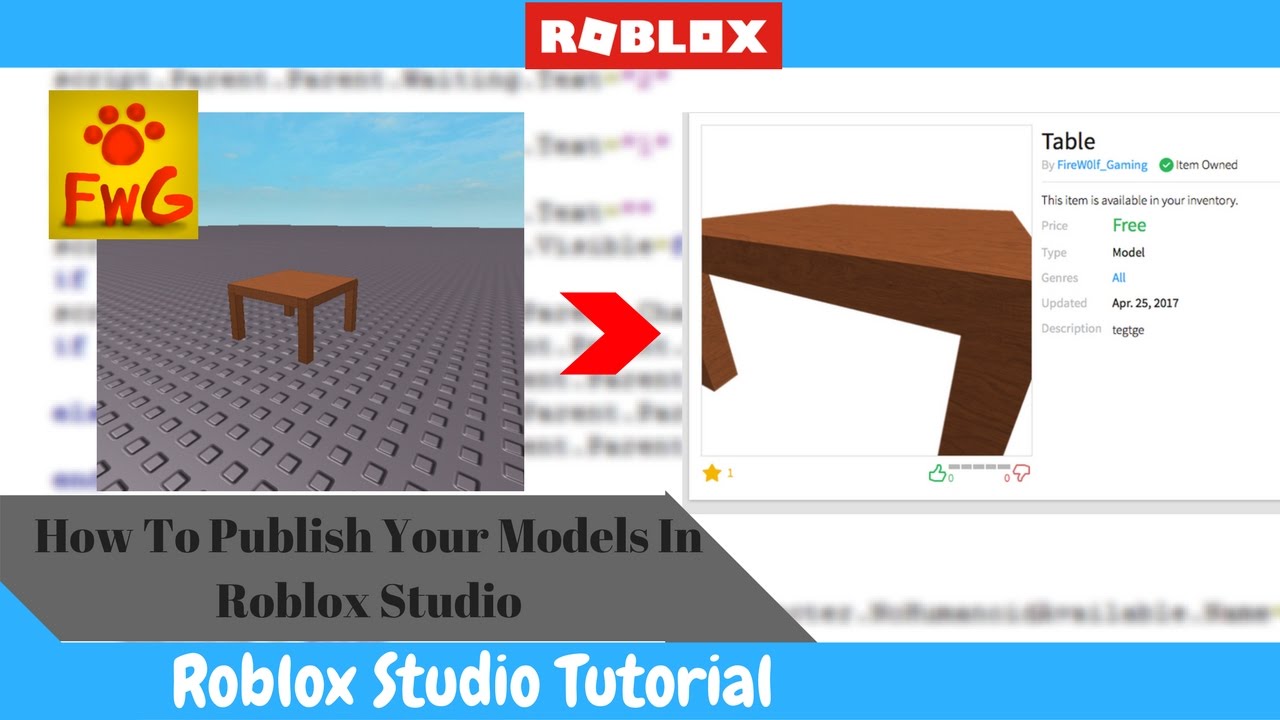
To combine shapes, simply place them next to or inside each other. Roblox Studio automatically handles the collision, allowing you to build complex structures from simple components. For example, you could create a table by using four cylinder parts for legs and a flat cube part for the tabletop. Use the 'Grid' snapping feature (under the 'Model' tab, 'Snap to Grid') to ensure your parts align perfectly. This method of constructive solid geometry is intuitive and powerful for beginners, enabling quick prototyping and iteration of ideas.
What are Unions and Meshes and when should I use them?
Unions and Meshes are two crucial concepts for creating more advanced and optimized models in Roblox Studio. Think of Unions as a way to literally combine multiple parts into a single, seamless object within Studio. You can also use Unions to subtract one part from another (like cutting a hole in a wall). This process reduces the number of individual parts, which can improve game performance. To create a Union, select multiple parts, then go to the 'Model' tab and click 'Union'. Unions are great for creating complex shapes directly within Studio without needing external software.
Meshes, on the other hand, are 3D models created in external software like Blender and then imported into Roblox Studio. Meshes are generally more complex, highly detailed, and often more performant than a large number of individual Roblox parts or even Unions, especially for intricate objects. You should use Meshes when you need high detail, custom shapes not easily achievable with basic parts or unions, or when optimizing for performance is critical. Many professional Roblox developers use a combination of Studio parts, Unions, and imported Meshes to achieve their desired aesthetic and performance balance.
How can I add textures and materials to my Roblox models?
Adding textures and materials is how you bring your Roblox models to life, giving them realistic or stylized appearances. In Roblox Studio, you can assign materials directly to individual parts or meshes. Select a part or mesh in the 'Explorer' window, then go to the 'Properties' window. Here, you'll find the 'Material' property. Roblox offers a wide range of built-in materials like Plastic, Wood, Metal, Glass, Fabric, and many more, each with unique visual properties.
Beyond built-in materials, you can apply custom textures. In the 'Properties' window for a part or mesh, locate the 'TextureID' property. You can upload your own image (texture) to Roblox and then paste its asset ID into this field. This allows for incredibly detailed and personalized appearances, from custom wood grains to intricate patterns. Remember, high-resolution textures can impact performance, so balance visual fidelity with optimization for a smooth player experience, especially important for players on mobile devices or older hardware.
Can I import external 3D models into Roblox Studio and how?
Yes, importing external 3D models, typically as Meshes, is a powerful way to bring highly detailed or custom-made assets into Roblox Studio. This is often done when creators want to use software like Blender, Maya, or 3ds Max for more advanced modeling capabilities than Studio offers natively. The most common file format for importing is FBX (.fbx) or OBJ (.obj).
Here's a basic process:
- Create or acquire your 3D model: Design your model in Blender or another 3D software. Ensure it's properly UV unwrapped if you plan to use custom textures.
- Export the model: Export your model as an FBX or OBJ file. Make sure to embed textures if prompted, or export them separately.
- Import into Roblox Studio: In Studio, go to the 'Game Explorer' window (View tab > Game Explorer). Right-click on 'Meshes' and select 'Import 3D'. Browse to your exported FBX/OBJ file.
- Adjust properties: Once imported, the Mesh will appear as a 'MeshPart' in your workspace. You can then adjust its size, position, material, and apply textures via the 'TextureID' property in the 'Properties' window.
This method significantly expands your creative potential, allowing for professional-grade assets within your Roblox games.
How do I optimize my Roblox models for better game performance?
Optimizing your Roblox models is crucial for ensuring a smooth, enjoyable experience for all players, especially considering mobile dominance and varying hardware capabilities. A poorly optimized game can lead to lag, crashes, and frustrated players, directly impacting engagement. Here's how to keep your models lean and performant:
- Reduce Polygon Count: High-polygon models are performance killers. Use fewer vertices and faces in your models whenever possible, especially for objects that aren't viewed up close. External software like Blender has tools for poly-reduction.
- Use Unions Sparingly and Efficiently: While Unions reduce part count, overly complex Unions can sometimes be more performance-intensive than simple parts. Use them thoughtfully and inspect their performance.
- Leverage Level of Detail (LOD): For imported meshes, Roblox Studio has an automatic LOD system. Models further away will automatically render with fewer details, saving resources. Design your meshes with this in mind.
- Texture Optimization: Use appropriate texture resolutions. A small object doesn't need a 4K texture. Compress textures where possible without losing too much visual quality.
- Avoid Excessive Transparency and Reflectance: These properties are graphically intensive. Use them only when necessary.
- Anchor Parts and Avoid CanCollide: Anchor static parts to prevent physics calculations. For purely visual objects, set 'CanCollide' to false to save on collision detection computations.
Regularly test your game on different devices to catch performance bottlenecks early.
What are some common modeling mistakes and how can I avoid them?
Even seasoned gamers new to modeling can fall into common traps. Recognizing and avoiding these will save you time and frustration:
- Over-detailing too early: Don't try to make every model hyper-realistic from the start. Focus on form and function, then add details. This saves time if you need to scrap an idea.
- Ignoring performance: As mentioned, forgetting optimization leads to lag. Always consider polygon count, texture size, and part count as you build.
- Poor organization: A messy 'Explorer' window means trouble. Name your parts and models logically, group related items into 'Models' (using Ctrl+G or right-click > Group). This is crucial for managing larger projects, especially if collaborating.
- Inconsistent scaling: Make sure your models are scaled appropriately relative to each other and to Roblox characters. An oversized chair or a tiny house breaks immersion.
- Not using reference images: If you're building something real-world inspired, use reference images to guide your proportions and details.
- Forgetting to save: Always, always save your work frequently! Roblox Studio sometimes auto-saves, but manual saves are your best friend against unexpected crashes.
Learning from mistakes is part of the process, but prevention is even better!
How can I turn my Roblox models into a source of income or social connection?
Beyond personal satisfaction, your Roblox modeling skills can open doors to income and deeper social connections. The Roblox creator economy is booming, and your creations have value. Many developers and gamers (including Gen Z and Millennials who balance gaming with life) are looking for unique assets. You can:
- Sell assets on the Creator Marketplace: Roblox's Developer Hub allows you to upload and sell your models, meshes, and plugins to other developers. This is a direct way to monetize your skills.
- Offer commissions: Many game developers need custom assets. You can advertise your services on Discord servers, Roblox developer forums, or social media.
- Create your own game: Build a game around your unique models. If your game attracts players, you can earn Robux through premium payouts, in-game purchases (like game passes or developer products), or even through the new Engagement-Based Payouts (EBP).
- Collaborate on projects: Join development teams. Your modeling skills are highly valued. Collaborating on a project is a fantastic way to meet new people, learn from others, and build a portfolio.
Remember, social gaming is a major trend. Sharing your models, getting feedback, and seeing others use your creations is incredibly rewarding and strengthens your ties within the Roblox community.
What are the best practices for collaborating on modeling projects in Roblox Studio?
Collaboration is a cornerstone of modern game development, and Roblox Studio facilitates teamwork effectively. For adult gamers balancing life, efficient collaboration means making the most of your shared time and avoiding frustrating workflow issues. Here are some best practices:
- Use Team Create: This is Roblox Studio's built-in collaborative feature. Enable it in your game settings to allow multiple developers to work on the same game simultaneously.
- Establish clear roles and responsibilities: Decide who is responsible for what. For modeling, this means assigning specific assets or sections of a build to individual team members to prevent overwriting or duplicate work.
- Maintain consistent naming conventions: Agree on how to name parts, models, and scripts. This keeps the Explorer window organized and makes it easy for anyone on the team to find specific assets.
- Communicate regularly: Use Discord or other communication platforms to discuss progress, challenges, and design choices. Regular check-ins prevent misunderstandings and keep everyone on the same page.
- Version control (manual or external): While Team Create handles some versioning, for critical assets, consider exporting and backing up models at key development stages. For advanced teams, external version control systems like Git (using Rojo for integration) offer robust solutions.
- Provide constructive feedback: Be respectful and specific when giving feedback on others' work. Focus on improvement, not just criticism.
Effective collaboration not only streamlines development but also enhances the social aspect of game creation, turning a solo hobby into a shared adventure.
Creating 3D models in Roblox Studio can seem like a monumental task, but as you've seen, it's a rewarding journey of skill-building and creative expression. From understanding basic parts and materials to leveraging meshes and optimizing for performance, you now have the foundational knowledge to start building your own corner of the Roblox metaverse. This isn't just about making pixels; it's about crafting experiences, connecting with others, and finding a valuable creative outlet in your busy life. Remember, the gaming landscape is constantly evolving, with social play and user-generated content leading the charge. Your ability to create unique models positions you perfectly within this exciting trend.
What's your biggest gaming challenge when it comes to creativity and building? Comment below!
FAQ Section
What software do I need to model in Roblox?
You primarily need Roblox Studio, which is free to download. For advanced modeling, external software like Blender (also free) is highly recommended for creating complex meshes that can then be imported into Studio.
Is modeling in Roblox Studio difficult for beginners?
Roblox Studio is designed to be user-friendly for beginners. Starting with basic parts and gradually learning Unions, materials, and eventually Meshes makes the learning curve manageable. Many online tutorials and the Roblox Developer Hub provide excellent resources.
How can I make my Roblox models look more realistic?
To make models realistic, focus on detailed textures, appropriate material choices (e.g., using 'SmoothPlastic' for a clean look or 'Wood' for natural elements), realistic proportions, and subtle use of lighting effects in Studio. Importing high-quality custom meshes from external 3D software also significantly enhances realism.
What is the difference between 'Parts' and 'MeshParts' in Roblox modeling?
'Parts' are the basic geometric shapes (cubes, spheres, cylinders) created natively within Roblox Studio. 'MeshParts' are 3D models imported from external software (like Blender) as a single, optimized mesh object. MeshParts generally allow for more complex geometry and better performance for intricate designs.
Can I use Blender to create models for Roblox?
Absolutely! Blender is a very popular choice among Roblox developers for creating highly detailed and optimized 3D models. You can design complex shapes, sculpt, texture, and then export them as FBX or OBJ files to import as MeshParts into Roblox Studio.
How do I optimize my Roblox models for better performance?
Optimize models by reducing polygon count, using appropriate texture resolutions, sparingly using transparency and reflective materials, anchoring static parts to disable physics, and carefully employing Unions. Regularly test your creations on various devices to ensure a smooth experience for all players.